BlogHosting
How to put an HTML and CSS website online, with your own domain
You have a folder with an index.html in it. Here are three free ways to put it online, how to connect your own domain, and what to check once it is live.

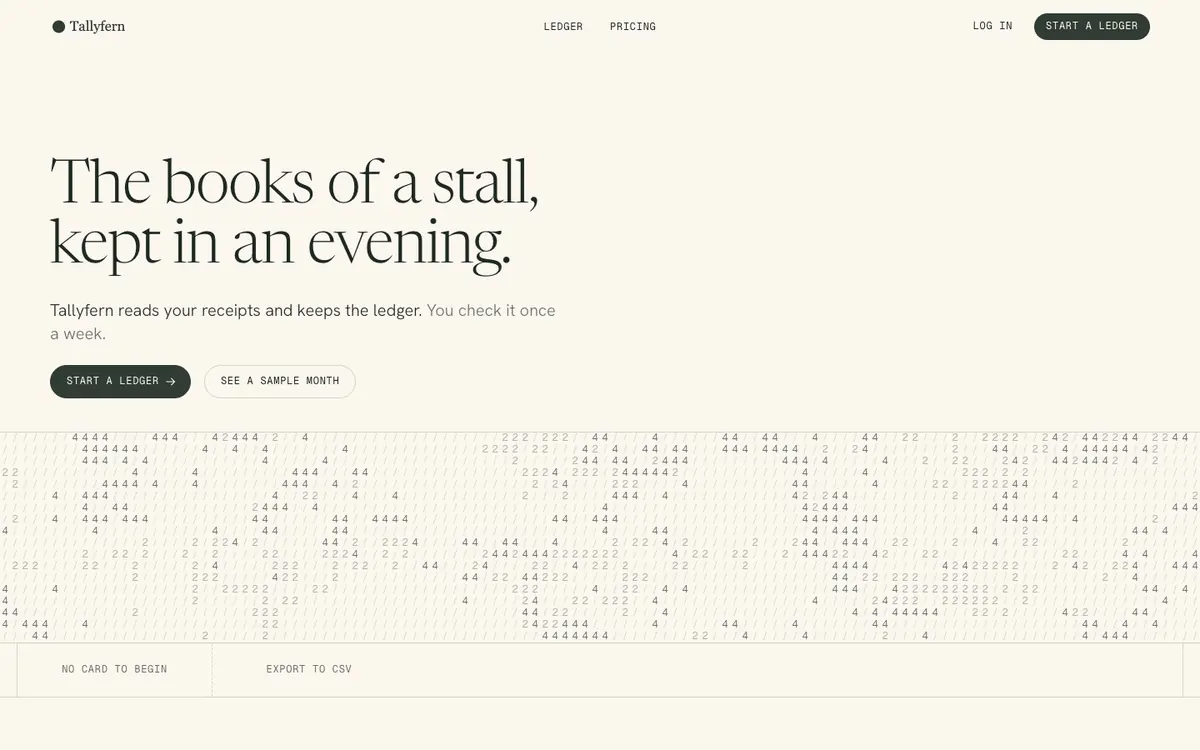
A website made of HTML and CSS files is the simplest thing the web knows how to serve. There is no database behind it and no program that has to run: a web host only has to hand the files to whoever asks. That is why it is fast, why almost nothing can break, and why hosting it can cost nothing.
This guide assumes you have such a folder: from a designer, from an export, or from a Swarmsite download. It takes you from the folder on your computer to your own domain with a padlock in the address bar.
First, look inside the folder
Whatever host you choose, it will look for one file to show first: index.html, at the top level of what you upload. A typical folder looks like this:
my-site/
  index.html
  media/      pictures and video
  fonts/      typefaces
Two checks before you upload anything:
- If you received a zip, unpack it. You upload the folder, and
index.htmlmust not be buried one level deeper than you think. - Open
index.htmlin your browser by double-clicking it. If the page looks right from your own disk, with pictures and typefaces in place, it will look right online. If something is missing here, it will be missing there.
Three free ways to host it
All three serve plain files over HTTPS and let you use a domain you own. They differ in how you get the files there and in what they allow.
| How you upload | Good to know | |
|---|---|---|
| Netlify | Drag the folder onto a page in your browser | The quickest start. The free plan includes custom domains with SSL and meters use in credits. |
| Cloudflare Pages | Drag the folder or a zip into the dashboard | Drag and drop takes up to 1,000 files of up to 25 MiB each. A bare domain has to use Cloudflare’s nameservers. |
| GitHub Pages | Put the files in a repository | Sites up to 1 GB. GitHub’s terms say it is not meant as free hosting for running an online business. |
These are the limits each provider documents at the time of writing; the links are at the end of this page, and free plans change, so look before you rely on one. If you only want the page online today, take the first route.
Netlify: drag the folder
- Create a free account and sign in. Dropping a folder works without one, but Netlify’s own documentation recommends signing in first so the site is kept in your account where you can manage it.
- Open app.netlify.com/drop and drag your folder onto the page.
- The site is live at an address ending in
.netlify.app. Open it and check it on your phone.
To change the site later, drag the updated folder onto the same site’s Deploys page. Each upload replaces the one before.
Cloudflare Pages: drag the folder or the zip
- In the Cloudflare dashboard, open Workers & Pages, choose to create an application, and pick the option to drag and drop your files.
- Give the project a name and drag in the folder or the zip.
- Deploy. The site is live at
your-project.pages.dev.
A new version is a new deployment from the same project page.
GitHub Pages: if you already keep things in Git
Put the files in a repository with index.html at its top level and turn on Pages in the repository’s settings. The site appears at your-name.github.io/repository. It suits a personal site, documentation or an open project. Read the limits page before using it for a shop or a paid product: GitHub describes those as outside what Pages is for.
Already paying for hosting?
If your current site lives on ordinary shared hosting, you do not need a new provider. Open the file manager in your hosting panel, or connect with an FTP program, and find the public folder, most often called public_html or www. Download a copy of what is there first. Then upload the contents of your folder into it, so that index.html sits directly inside the public folder.
If the old site had more pages than the new one, their addresses will stop working unless you keep or redirect them. That is a search question as much as a hosting one: see redesigning without losing your rankings.
Connect your own domain
A domain is rented by the year from a registrar. Connecting it to a host means adding one or two DNS records at the company where the domain’s DNS is managed, usually the registrar itself. The order matters:
- Add the domain in your host’s dashboard first (in Netlify under Domain management, in Cloudflare Pages under Custom domains). The host then shows you the exact records it expects. Cloudflare warns that creating the record before adding the domain can leave the address failing to resolve.
- Create those records at your DNS provider. For
www.example.comor any other subdomain this is aCNAMErecord pointing at the address your host gave the site. For the bare domain,example.com, hosts differ: Netlify gives you anAorALIASrecord to add where your DNS already lives, while Cloudflare Pages needs the domain to use Cloudflare’s nameservers. - Wait, then check. A DNS change can take anything from minutes to a day or two to reach everyone. Copy the values from the dashboard, not from an article: they are the one thing here that must be exact.
Decide which of the two spellings is the real one, www.example.com or example.com, and make the other redirect to it. Your host has a setting for this. Two addresses showing the same page is a small thing that confuses both visitors’ bookmarks and search engines.
Once it is live
- The padlock. Open the site with
https://. The host issues the certificate; if the browser still warns after the DNS change has settled, the domain’s settings in the dashboard will say what it is waiting for. - Both spellings. With and without
www, withhttp://andhttps://: all four should end at one address. - A real phone. On mobile data, not your office Wi-Fi.
- Every link and the contact form. A form in a static page needs somewhere to send what is typed; if yours is a plain email link, click it.
- Tell the search engines. Add the site to Google Search Console and submit a sitemap, so the new address is crawled soon and you can see how it is found.
Changing the site later
A static site has no admin screen. To change it, you change the files and upload the folder again; the host swaps the old version for the new one. Keep the previous folder until you have looked at the new version online, so that going back is one more upload.
If the folder came from Swarmsite, you make the change in the editor, download again, and upload that.
Sources
What this guide says about another company’s service was read from its own documentation on 18 November 2026.